In this favicon tutorial we'll cover the Favicon Basics - What is a Favicon, What's the standard favicon size & We'll show you how to make a favicon - Including the best generators, favicon html samples & ico file converters.
Sanford Weill once stated "Details create the big picture" and in the design world, that's an absolute truth. When you run across a business who doesn't have favicons on their site, their brand is automatically discounted. It's a small detail, but a viewer can't help but notice. In many respects, this attention to detail is what sets failing and thriving businesses apart. In 5-10 minutes any designer can create a favicon that is both beautiful and functional. In this brief favicon tutorial we'll show you how!
What is a Favicon?
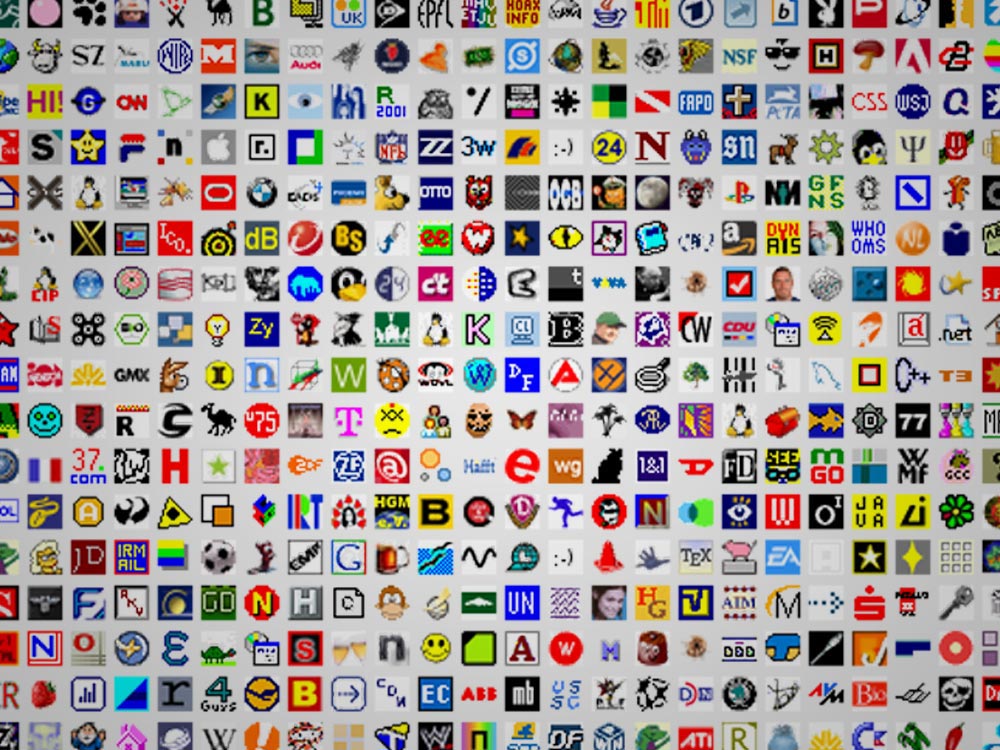
A favicon is technically a bookmark or shortcut icon used by browsers and applications to identify a particular site. This is generally served as a small logo or icon that is heavily representative of the brand. This icon is served from the site's server and appears next to a websites address in a browser's url bar. Although there are various ways to deliver a favicon, development "best practices" generally state that an icon should be an .ico file type. Favicon dimensions are generally 16 x 16px or 32 x 32px. The smaller size is currently default, but I'd suggest creating both sizes since standard icon sizes generally increase over time.
How to Make a Favicon
Like anything else in the design world, there is a fast way and a proper way. In this favicon tutorial we'll cover the proper way, but if you'd like to speed up the process just hop down to the "Favicon Tools" section, select from the favicon generators or a ico file converter, and you can skip this section on how to make a favicon.
Get the ico Converter Plugin: Since you need to save your icon in an .ico format, you will need to include a plugin for Photoshop. Telegraphics makes the best plugin which is available for free and on a variety of platforms (I would leave a small donation if possible). You can always run your image through a web based ico convertor if needed, but this is by far your best approach. So download that .ico converter from http://www.telegraphics.com.au/sw/ and drop the photoshop ico plugin named icoFormat.plugin into the Photoshop/Plug-Ins/File Formats folder. That location may very of course, but the specifics are clearly spelled out in the included readme.txt file. After that, just restart Photoshop and we're ready to create a favicon for your site.
Create a Favicon: Create a new file in Photoshop, I'd recommend a 152 x 152px since that's the largest current usable favicon size. Aesthetically, you should keep in mind that this image will end up very small. Keep the shapes simple, colors minimal, utilize the transparent background, and keep the shape completely off the edges if possible. I've included a few examples, but the most important thing is to convey your brand in one memorable shape or letter. Once you've got your image, save the full size version, then change your file size down to 16 x 16px, click "save-as", and you should see the .ico format is select-able in the drop down menu. Once you've saved the .ico file we'll work on uploading and adding the favicon html, just be sure you've retained the large version so we can make additional size variations if needed.
-
Favicon Generators & Creators
- Favicon.cc Icon Generator: Favicon.cc
- X-Icon Editor / Creator: xIconEditor.com
- Iconsflow - Editor: iconsflow.com
-
Favicon Ico File Convertors
- Dynamic Drive: DD - Favicon Generator
- Dans Tools: Favicon & App Icon Generator
- Real Generator: RealFaviconGenerator.net
- Favic-o-Matic: favicomatic.com
Include Your File & Favicon HTML
No matter how you generate your favicon .ico, the file will need to be placed on your server and the specified favicon html must be included in your html. If that sounds tricky, I promise after you do it once it will be dead simple.
Place Image on your Server: While some browsers allow alternate locations, you should always keep your favicon in your root directory. Although this is basically just a grandfathered rule, it's one that has continued and I wouldn't expect to go away. When including multiples, don't forget - No matter the favicon dimensions, keep it in the root. Easy accessibility is the name of the game here.
Add the Favicon Code: As mentioned earlier there are various approaches here, but I can ensure you this snippet is both cross-browser compatible and should remain so for quite some time. The line needs to be placed in the <head> of your document and the closer to the top the better.
<link rel="shortcut icon" href="/favicon.ico" type="image/x-icon">
If you don't see it appear immediately, don't freak out it's probably just your browser's cache. Clear you're cache, restart the browser, and be patient - I've had browsers take a couple minutes to show... but if you've followed the steps and entered the favicon code accurately, it'll show (Browsers can be finicky). Once you've got your favicon image showing up, give it a quick evaluation, and adjust as needed. Once you have a good looking favicon I would suggest saving a 32x32px .png copy that can be used in the future and consider which other versions you might need. Personally, we include "Apple Touch" versions on all our projects, but your needs are up to you. We've included many code samples below Pick your favorites and generate them from your original PSD file.
Tutorial Bonus Points - Every Favicon Size
While you're in the icon creating mood, let's get your various favicon dimensions covered. Your basic Apple Touch Icon should be rendered as a 57 x 57px .png file. The default Apple Touch Icon is tagged with "apple-touch-icon-precomposed", but the remainder of favicon dimensions cover the range of iOS icons. If you're a fan of variety, various shortcut sizes can be created with the associated "sizes" class. Applications should also take advantage of the added "Apple Touch" sizes and also the "Tile Image" attributes which create a customized presentation for Windows tiles. If you'd like a further explanation on which sizes are used on certain devices, this question on Stack Overflow covers the topic very well.
<link rel="shortcut icon" sizes="16x16" href="https://haeckdesign.com/favicon.ico">
<link rel="shortcut icon" sizes="32x32" href="https://haeckdesign.com/favicon-32.ico">
<link rel="shortcut icon" sizes="64x64" href="https://haeckdesign.com/favicon-64.ico">
<link rel="apple-touch-icon-precomposed" sizes="57x57" href="/images/favicon-57.png">
<link rel="apple-touch-icon" sizes="57x57" href="/images/favicon-57.png">
<link rel="apple-touch-icon" sizes="72x72" href="/images/favicon-72.png">
<link rel="apple-touch-icon" sizes="114x114" href="/images/favicon-114.png">
<link rel="apple-touch-icon" sizes="120x120" href="/images/favicon-120.png">
<link rel="apple-touch-icon" sizes="144x144" href="/images/favicon-144.png">
<link rel="apple-touch-icon" sizes="152x152" href="/images/favicon-152.png">
<meta name="application-name" content="Haeck Design Application">
<meta name="msapplication-TileImage" content="/images/favicon-144.png">
<meta name="msapplication-TileColor" content="#3fa5c3">
Now Your Favicon Should Be Live
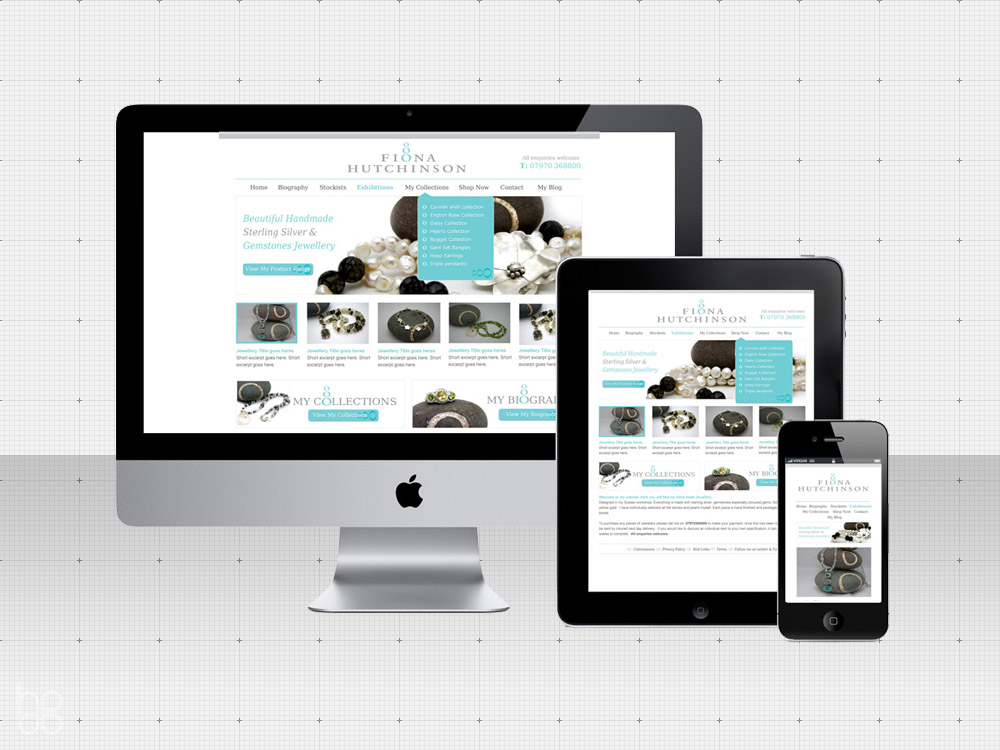
At this point you should see your beautiful new icon, just like in the image we've included. If you'd like to test the functionality out, bookmark a page from your site and save your site "add to home screen" on any iOS device. As long as your images are showing, you should be all set. Since this is an addition you generally want to make on every site, we'd suggest saving the favicon html into a snippet collector and being sure to include it in all your future projects.
As mentioned at the top understanding the favicon basics may not be a revolutionary addition to your development process, but it will make your clients happy and it truly speaks to how you approach projects. This is what a website visitor sees directly next to your website's name. This is also the logo that appears in the bookmark menu when someone saves it. Details are important and when you deliver cohesive branding for your clients, you're showing that you care. If you don't care about the details, web design might not be the field for you.
Hopefully this favicon tutorial has helped you add some quality detail to your future projects. If you have any tips on how to cover the favicon basics better, please send them this way and we'll include them on a future update. If you've found this post helpful - Please be sure to share with the buttons below & thanks for stopping by!
