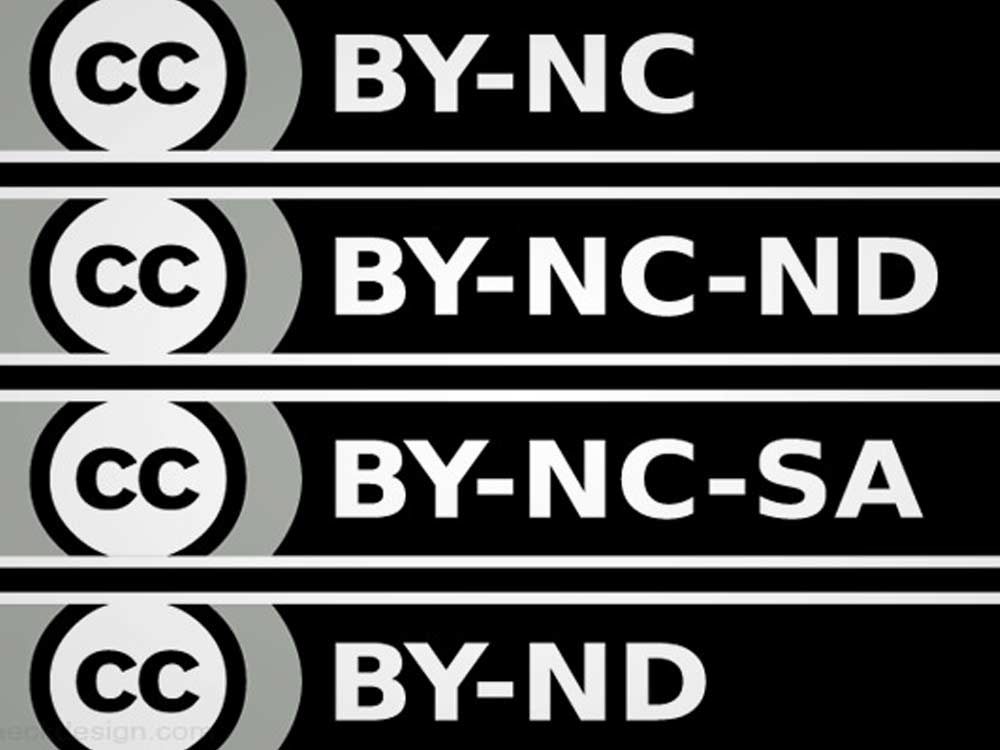
Like a lot of designers, I find time-management to be tricky at times. That's why I constructed this Creative Commons icon sprite to easily handle project attribution in just 3 steps.
Efficiency is what allows you to focus your energy where it's most useful. Usually that means taking a step back and looking at how you conduct your day-to-day work. Attribution is one element that creative types often overlook, but with this quick and easy Creative Commons tutorial we'll show you how to make properly attributing your work a simple habit. Just select how you want your media treated, choose the coordinating license, and clearly post your attribution. We give you a tiny snippet of Creative Commons code to keep on hand so you can easily display their icons. Let those legal geniuses at CC handle all the "leaglease" just include your Creative Commons icon sprite and you'll have your rights covered.
If you're completely unfamiliar with Creative Commons give that link a quick read. The basic idea is that by using a standardized ruleset, we can simply protect our work. That's obviously not to say that legal professionals are never needed, but that a great deal of disputes can be avoided. These steps will allow folks to sleep a little easier knowing their projects are guarded in the way a creator sees fit. To a lot of us - Our projects are our babies. Proper attribution ensures that they're treated well.
Load your Creative Commons Icon Sprite
Start off by uploading the sprite image to your server and including this quick piece of CSS. Everyone has different methods of building clean sprites, so feel free to customize away. I'd recommend going through the first time with this ultra simple styling, then just go back and customize as necessary. You may notice that I've included an invisible image, since empty links are generally frowned upon. Here's the code to include...
.ccsmsticker {
	width: 120px;height: 22px;
	background-image: url(images/smallcc.png);
	background-color: #fefefe;
	display: block;
	overflow: hidden;
	font-size: 0;
}
.ccsmsticker:hover {
	background-color: #ffffff;
}

.by { background-position: 0 0; } .by:hover { background-position: 120px 0; }
.bysa { background-position: 0 22px; } .bysa:hover { background-position: 120px 22px; }
.bynd { background-position: 0 44px; } .bynd:hover { background-position: 120px 44px; }
.bync { background-position: 0 66px; } .bync:hover { background-position: 120px 66px; }
.byncsa { background-position: 0 88px; } .byncsa:hover { background-position: 120px 88px; }
.byncnd { background-position: 0 110px; } .byncnd:hover { background-position: 120px 110px; }
This will render you a 120px x 22px box with a slightly darker rollover. Customize that container's styling to your liking. If you need something larger, I've also included a 240px x 44px box & image inside the zip at the end of this brief tutorial.
Select the Appropriate Creative Commons Code
Select the license you would like to use or visit the Creative Commons License page if you need a hand - https://chooser-beta.creativecommons.org/. Selection is easy - Do you want your name tied to it, can folks "remix" it, etc. Just use the included code examples to clearly mark your license and you've done your due diligence in terms of attribution. Here's how those html codes would look...
-
Attribution 3.0 Unported
Creative Commons Attribution 3.0 Unported License<a class="ccsmsticker mby" href="https://creativecommons.org/licenses/by/3.0/" title="Creative Commons Attribution 3.0 Unported License">Creative Commons Attribution 3.0 Unported License</a> -
Attribution-NonCommercial 3.0 Unported
Creative Commons Attribution-NonCommercial 3.0 Unported License<a class="ccmedsticker mbync"href="https://creativecommons.org/licenses/by-nc/3.0/" title="Creative Commons Attribution-NonCommercial 3.0 Unported License">Creative Commons Attribution-NonCommercial 3.0 Unported License</a> -
Attribution-NonCommercial-NoDerivs 3.0 Unported
Creative Commons Attribution-NonCommercial 3.0 Unported License<a class="ccmedsticker mbyncnd" href="https://creativecommons.org/licenses/by-nc-nd/3.0/" title="Creative Commons Attribution-NonCommercial 3.0 Unported License">Creative Commons Attribution-NonCommercial 3.0 Unported License</a> -
Attribution-NonCommercial-ShareAlike 3.0 Unported
Creative Commons Attribution-NonCommercial-ShareAlike 3.0 Unported License<a class="ccmedsticker mbyncsa" href="https://creativecommons.org/licenses/by-nc-nd/3.0/" title="Creative Commons Attribution-NonCommercial-ShareAlike 3.0 Unported License">Creative Commons Attribution-NonCommercial-ShareAlike 3.0 Unported License</a> -
Attribution-NoDerivs 3.0 Unported
Creative Commons Attribution-NoDerivs 3.0 Unported License<a class="ccmedsticker mbynd" href="https://creativecommons.org/licenses/by-nd/3.0/" title="Creative Commons Attribution-NoDerivs 3.0 Unported License">Creative Commons Attribution-NoDerivs 3.0 Unported License</a> -
Attribution-ShareAlike 3.0 Unported
Attribution-ShareAlike 3.0 Unported<a class="ccmedsticker mbysa" href="https://creativecommons.org/licenses/by-sa/3.0/" title="Attribution-ShareAlike 3.0 Unported (CC BY-SA 3.0)">Attribution-ShareAlike 3.0 Unported (CC BY-SA 3.0)</a>
That's it. Worlds easiest Creative Commons tutorial.
You should still use your brain when it comes to rights and nothing covers you 100%, but Creative Commons attribution just makes life easier. It's certainly relieved me of a fair amount of headaches over the last few years. Besides defining legal ownership, it also gives us all a basic set of rules to work from. In an industry where your hard work can be stolen with the click of a mouse, it's nice to have some general rules that we can all work from. If you've never used Creative Commons before - Try it out. I'm sure you'll become a fan like us in no time.
Nerd Bonus - Customize that CC Icon
If you're a little obsessive (and aren't we all), I've included a full size PSD file into the project notes so you can do a little color coordinating if you want to. Just make sure to retain the CC logo guidelines. You wouldn't want to get sued by Creative Commons for copyright infringement... That'd be just too ironic for words.


